This page describes macOS 11.0 (Big Sur) specific information.
If you have previous macOS version please refer to previous macOS SIP instructions.
You might want to read this blog post for historical context.
Are you using an Apple Silicon (M1, M2, etc.) machine?
While TotalFinder is compatible with Apple Silicon, this is not officially supported by BinaryAge.
As a result, Apple Silicon support in TotalFinder must be manually enabled. You can find more info on how to do so on this page.
TotalFinder has support for macOS 11.0 (Big Sur), but cannot run on a normally configured machine due to System Integrity Protection (SIP). This article can help you how to configure your machine to allow TotalFiner installation by modifying security setting.
If you decide to modify the settings, you will be able to install TotalFinder. Just to be clear…
Your machine may be less secure when you disable extra security features. It is entirely your decision to modify the settings.
What is different in macOS 11.0 (Big Sur)?
The Finder binary is newly marked as a “platform binary”. That means that system prevents injecting or loading any code which is not signed by Apple developers. This feature is called “Library Validation” and was first introduced in macOS 10.10 (Yosemite). Finder didn’t participate in this prior macOS 11.0.
Currently in beta macOS 11.0 users can disable Library Validation using this command in Terminal.app:
sudo defaults write /Library/Preferences/com.apple.security.libraryvalidation.plist DisableLibraryValidation -bool true
This will allow injection of TotalFinder code in Finder. But please note that Library Validation is disabled system-wide. So any app which relied on Library Validation might be less secure.
How to install TotalFinder by turning off System Integrity Protection
TotalFinder will guide you through the process via notification dialogs. Please check the TotalFinder installation page for general installation steps. This document explains SIP-specific steps.
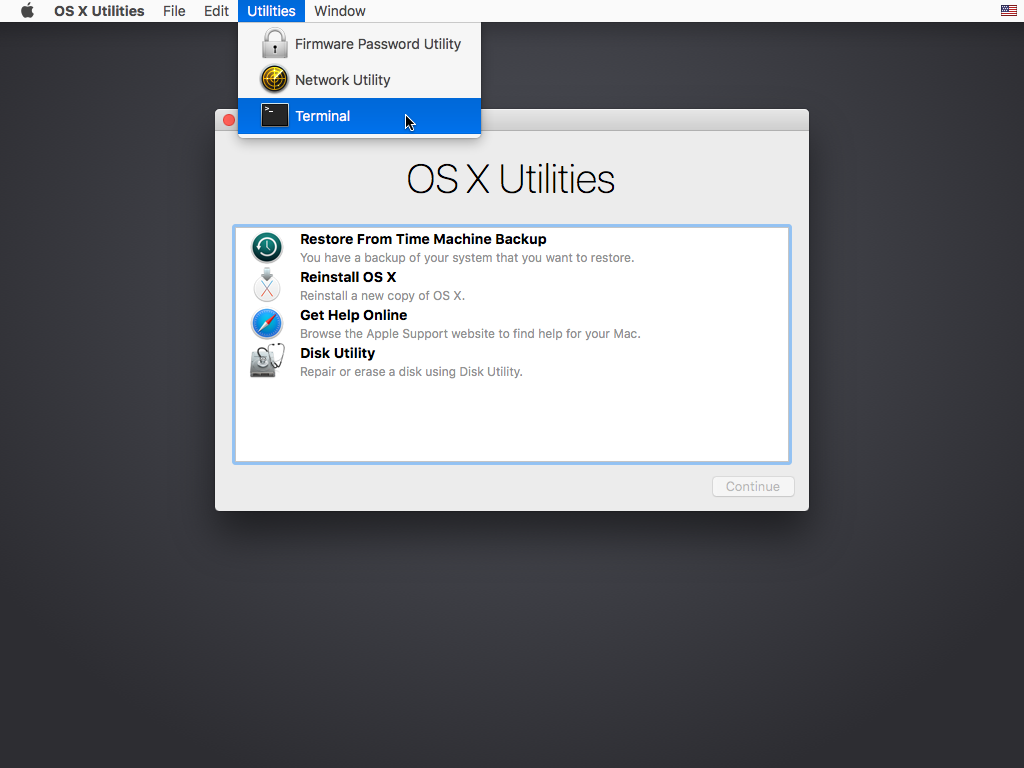
You must boot into the Recovery OS. You do this by restarting your machine, and holding Command+R until the Apple logo
appears. Then select Terminal from the Utilities menu. It looks like this:
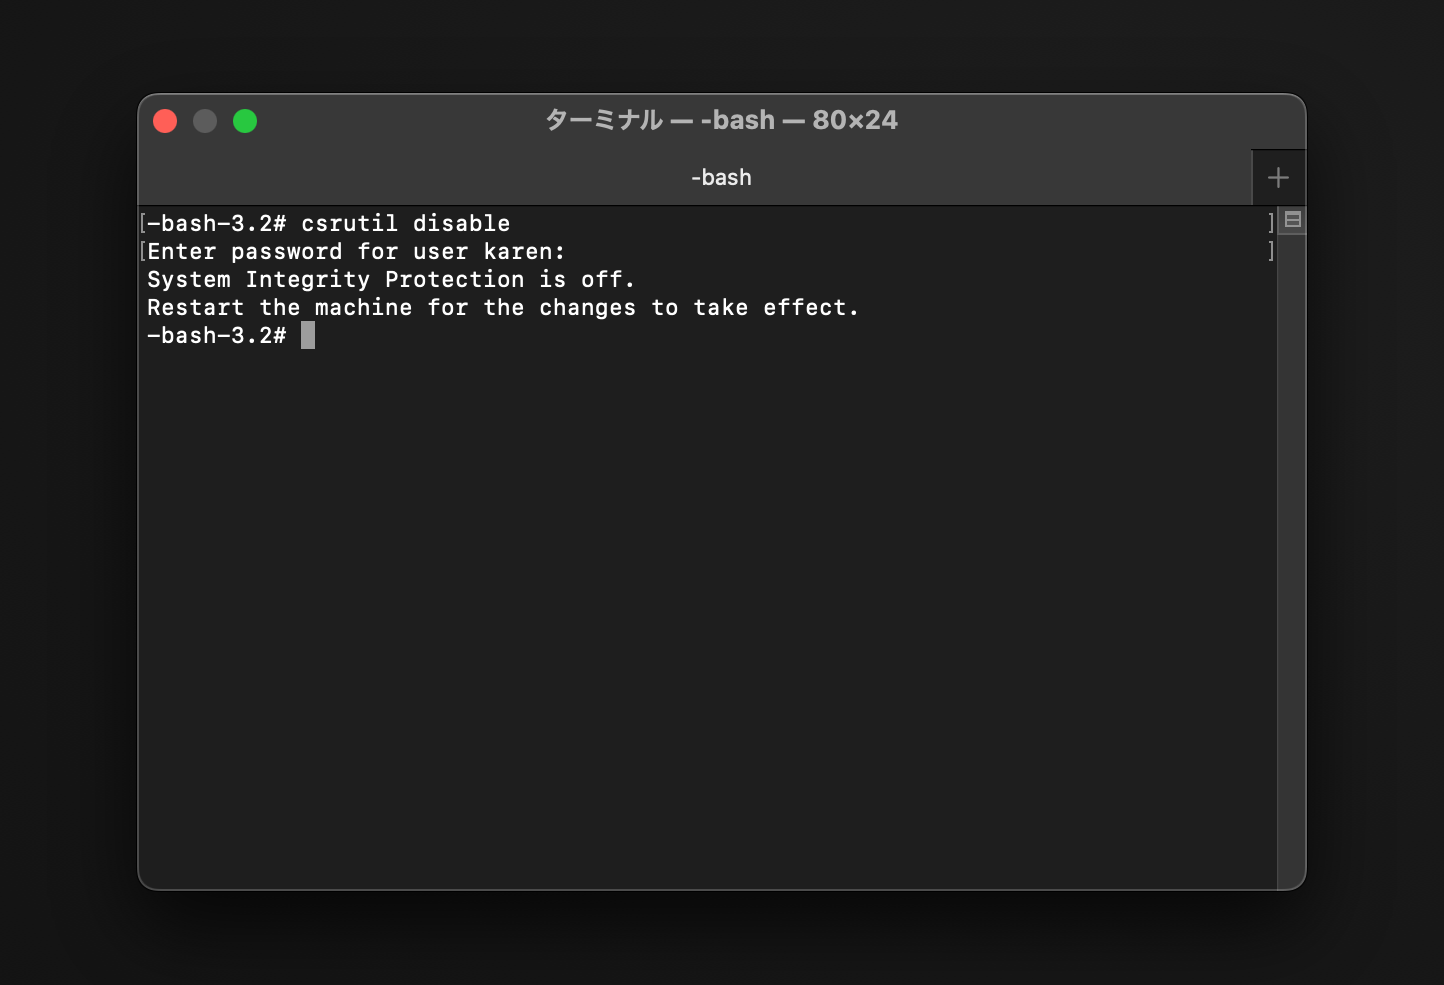
In the window that opens, type csrutil disable and press return. This turns off System Integrity Protection so
that TotalFinder can be installed.
Reboot your machine and you may install and run the latest version of TotalFinder.
Unfortunately you have to keep SIP disabled to allow TotalFinder. In earlier macOS versions it was possible to turn SIP off only to complete TotalFinder installation steps and enable it back again. That is no longer possible in recent macOS releases due to hardened security settings.
Technical details
TotalFinder works by altering the built-in system application Finder.app.
In order to change some features of Finder, we use a technique called code injection. This means we add some additional code
to the Finder program whilst it is running to do what we need. This is relatively safe - in fact we do not change any part of
macOS on the disk. You only have to quit Finder via Command+Option+Esc, and the Finder will restart and everything will be
as if TotalFinder was never running.
However, in macOS 10.11 (El Capitan) and later the macOS developers added a feature that disallows this kind of modification even if you have administrator access. It will also disallow other kinds of modifications (such as replacing parts of the system on disk).
Uninstallation and SIP
To remove TotalFinder from your system, run the uninstaller found on the latest dmg download of TotalFinder.
